I do have to admit... part of the reason I've been slacking off on my regular posts is because I've been working on this one EPIC post...
But it's taking much in-depth research... and I do have a real life... I know it's around here somewhere...
HEY!! You in the blue plaid shirt!!! YOU'RE SITTING ON MY LIFE!!! Can I have it back please? Yeah thank you... move along now...
Anyway, I was trying to not tip my hand to reveal the subject of the epic post, yet maintain the "other" posts at the same time. Seems I can't do that. In the meantime, we're traveling to Charleston/Summerville, SC for spring break, so there will be blogging about that...
See? I'm still being good about not saying what my big project is!!! I hope it'll be worth the wait!
Thursday, March 31, 2011
Wednesday, March 30, 2011
Baked Chimichangas
ChimiCHAAAAnga... I just like saying chimiCHAAAAnga...
Ok so I like to eat them too, but I don't always feel like going to the bother of frying them... not to mention the extra calories. We all know fried is good... VERY good... but we can stand to skip it once in a while. These are a highly acceptable substitute.
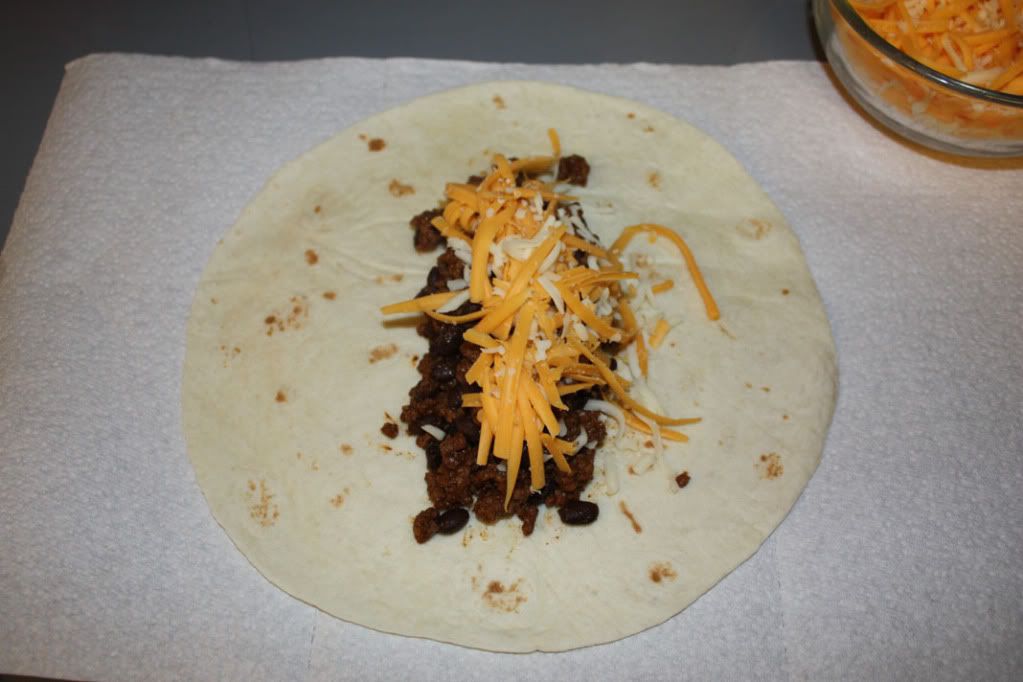
Take your favorite taco/burrito meat filling recipe and add a can of drained black beans (or not... up to you). Put about half a cup of filling and a generous sprinkling of shredded cheese in the center of a large (10") flour tortilla.
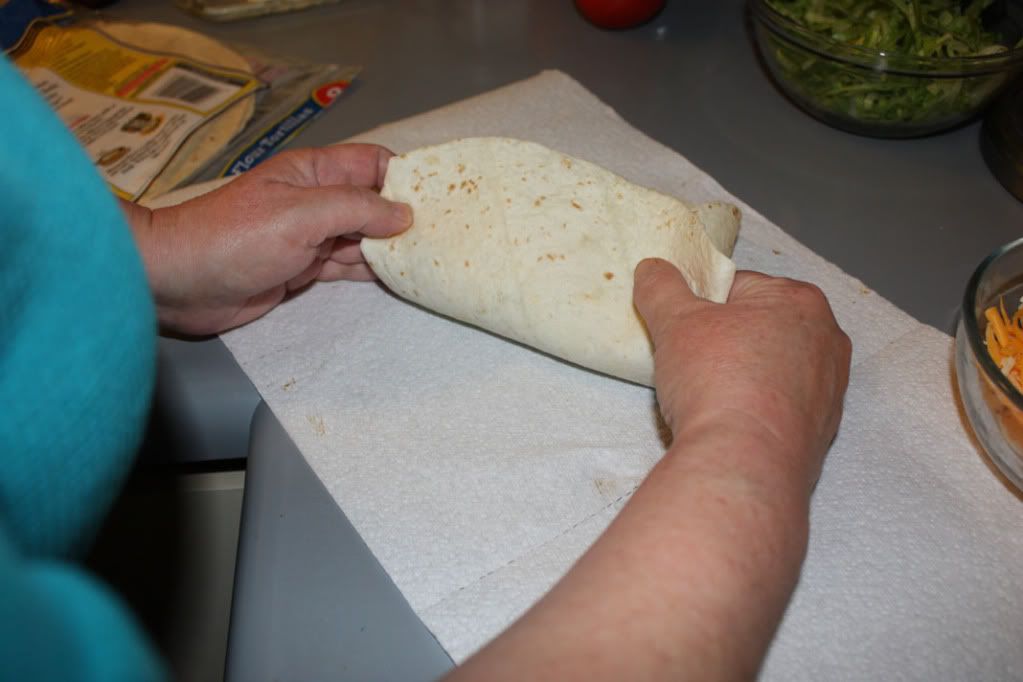
Fold in the top and bottom...
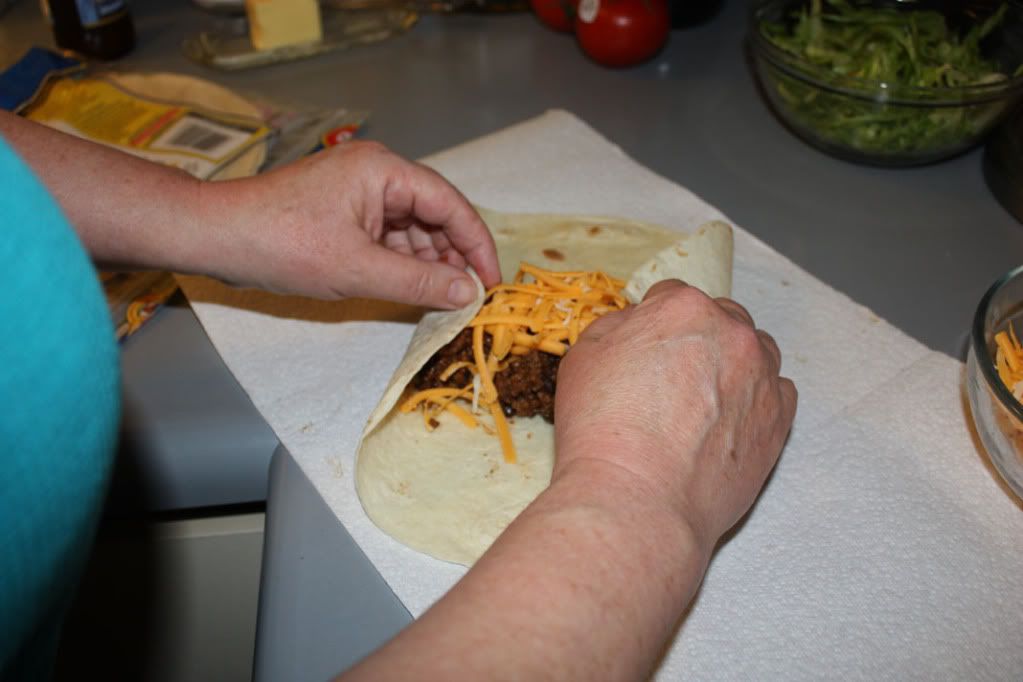
Holding those flaps in, roll to contain filling...
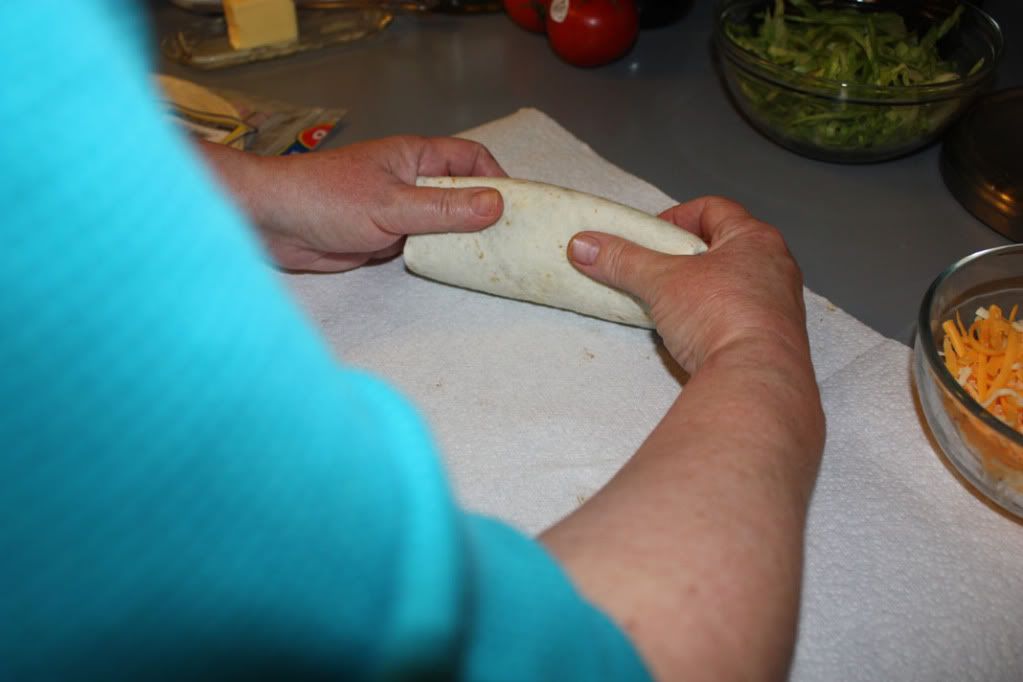
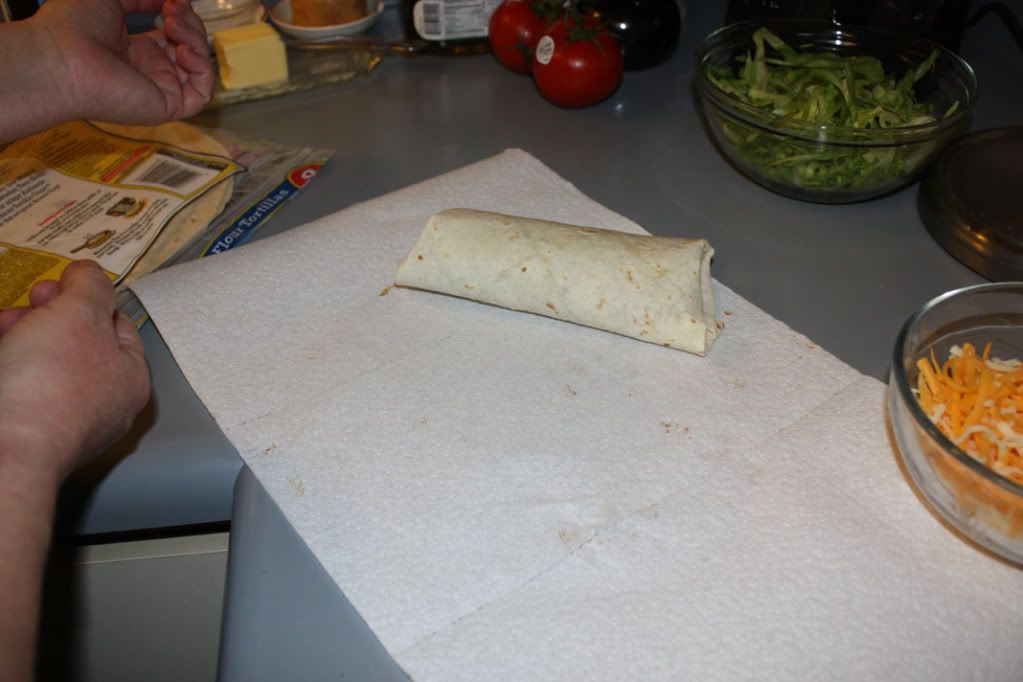
Place on baking sheet covered in foil and generously sprayed with cooking spray. I use Crisco butter flavored spray. Spray tops and sides of chimis.
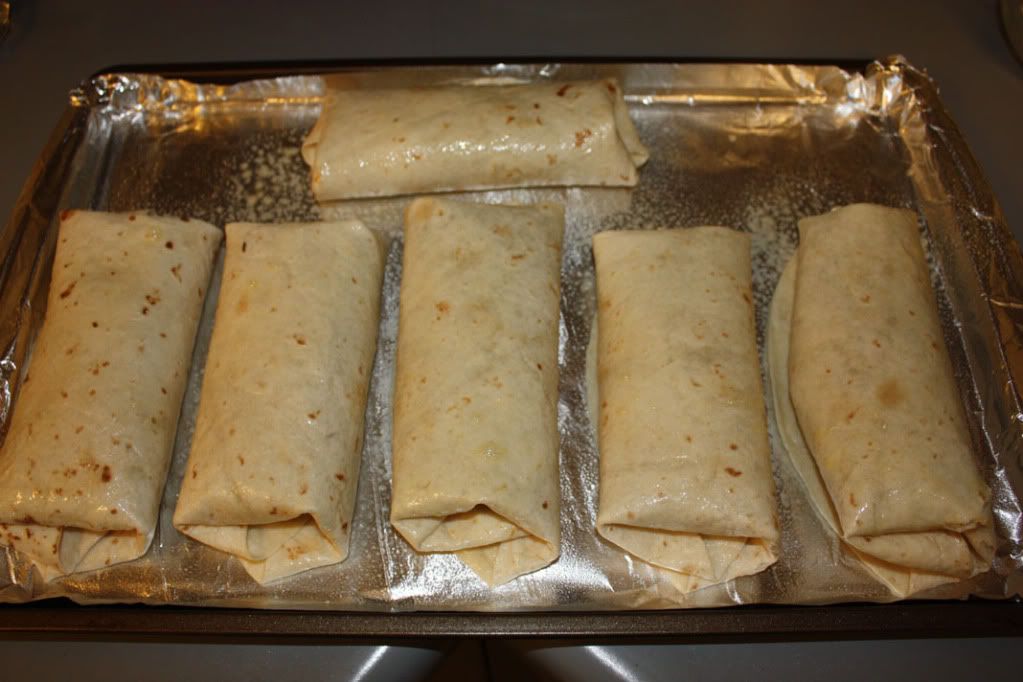
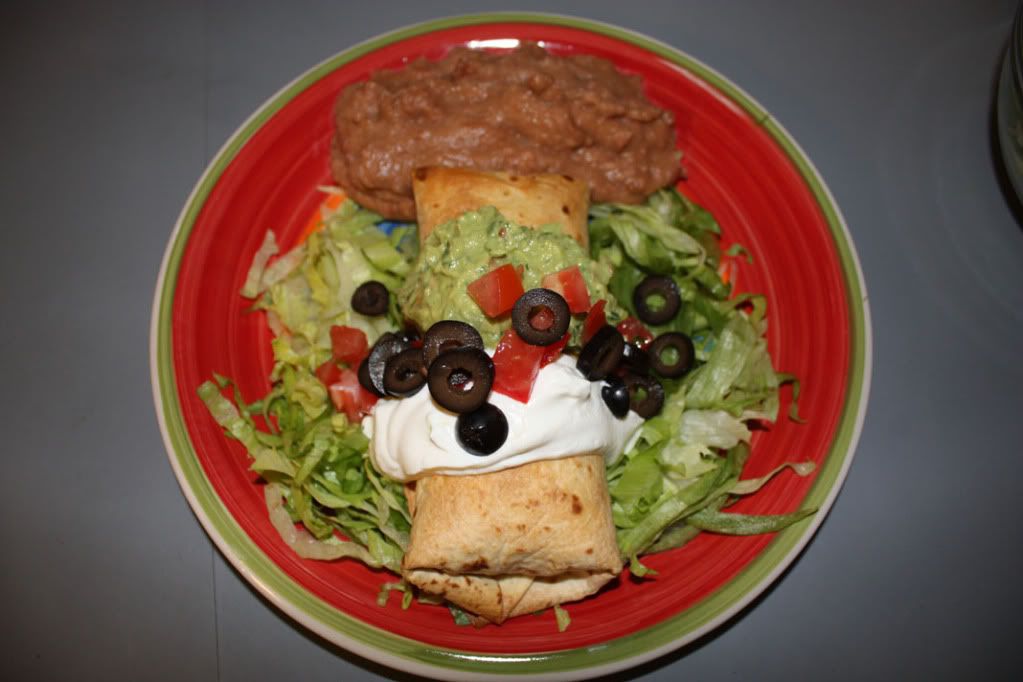
Bake at 400 degrees for about 20 minutes or until browned and heated through. Serve on top of shredded lettuce, garnished with whatever you like. Tonight I used chopped tomatoes, sliced black olives, sour cream, and homemade guacamole.
Homemade guacamole, you say? Why yes, I happen to have the recipe right here!! Lucky you!!
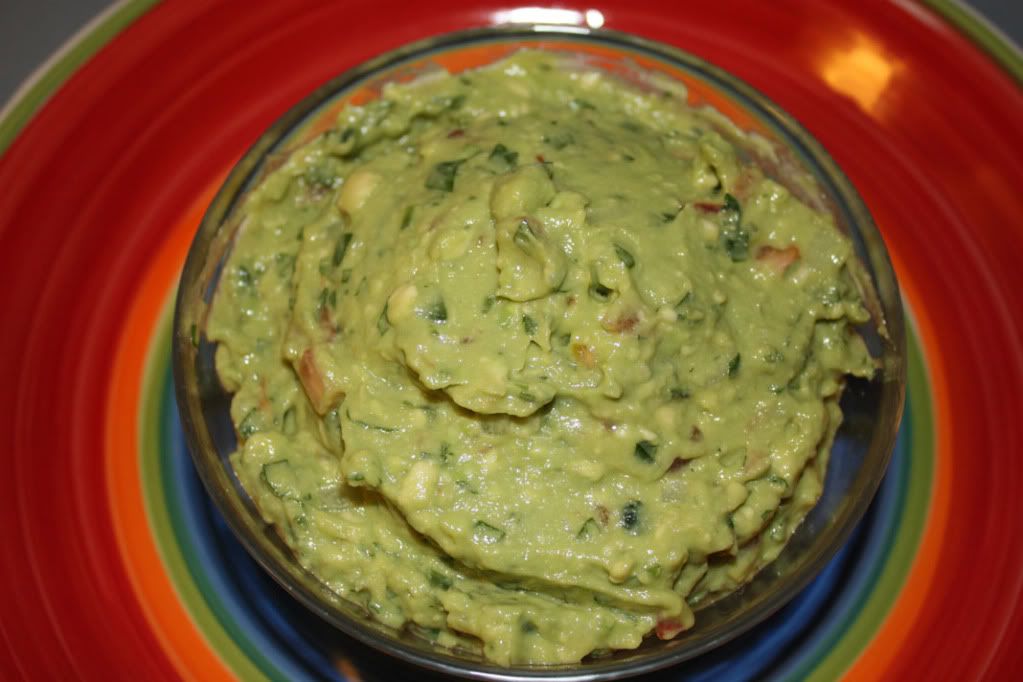
Vicki's Best Ever Guacamole
4 large very ripe avocados, peeled, seeded, and coarsely mashed (I use a pastry blender)
juice of half a large lime
large clove of garlic, mashed
large pinch of kosher salt
2 T. finely chopped sweet onion
1/4 C. finely chopped cilantro
1/2 t. cumin
1 jalapeño, seeded, ribbed, and very finely chopped (or a couple dashes of your favorite hot sauce)
1 large roma tomato, diced small
Combine all ingredients, cover and chill about an hour before serving.
Ok so I like to eat them too, but I don't always feel like going to the bother of frying them... not to mention the extra calories. We all know fried is good... VERY good... but we can stand to skip it once in a while. These are a highly acceptable substitute.
Take your favorite taco/burrito meat filling recipe and add a can of drained black beans (or not... up to you). Put about half a cup of filling and a generous sprinkling of shredded cheese in the center of a large (10") flour tortilla.
Fold in the top and bottom...
Holding those flaps in, roll to contain filling...
Place on baking sheet covered in foil and generously sprayed with cooking spray. I use Crisco butter flavored spray. Spray tops and sides of chimis.
Bake at 400 degrees for about 20 minutes or until browned and heated through. Serve on top of shredded lettuce, garnished with whatever you like. Tonight I used chopped tomatoes, sliced black olives, sour cream, and homemade guacamole.
Homemade guacamole, you say? Why yes, I happen to have the recipe right here!! Lucky you!!
Vicki's Best Ever Guacamole
4 large very ripe avocados, peeled, seeded, and coarsely mashed (I use a pastry blender)
juice of half a large lime
large clove of garlic, mashed
large pinch of kosher salt
2 T. finely chopped sweet onion
1/4 C. finely chopped cilantro
1/2 t. cumin
1 jalapeño, seeded, ribbed, and very finely chopped (or a couple dashes of your favorite hot sauce)
1 large roma tomato, diced small
Combine all ingredients, cover and chill about an hour before serving.
Miko's Rainbow Cupcakes
I've been bad. It's been a month since my last post. I've just been kind of busy and uninspired, so I asked my beautiful daughter Miko to write a guest post about her very cool cupcakes. Thank you, Miko!!

Why hello there.
This is Miko, and I'm here to tell you about my Rainbow Cupcakes. Inspired by YouTube videos and pictures on Tumblr.
So OBVIOUSLY the things you need to make these cupcakes are:
- White cake mix (It's really cheap. You can get it for like. $0.96 at WalMart.)
- Food color/dye/whatever you want to call it. Whatever floats your boat. You need Red, Blue, Yellow and Green. You can mix colors to make Orange and Purple.
- Frosting if you wish, I didn't use any.
- Six red plastic cups, paper bowls, etc. I used paper bowls because we didn't have any red plastic cups.
So basically, the procedure goes like this:
- Make the cake batter according to the directions on the box. Because they usually put the directions on there. Yanno.
- Evenly divide the cake batter into the six plastic cups/paper bowls/whatever you choose to use.
- Put all of the food dye colors into the designated bowls. You can mix Red and Yellow to make Orange & Red and Blue to make Purple.
- Put your cupcake liners in a muffin pan. Evenly put in each color of the rainbow, starting with Purple and ending with Red (or…. pink. Whatever it turns out to look like.)
- Once all of your batter is in all of the cups, put the cupcakes in the oven and cook them for the required time.
- Take them out and enjoy!
When I filled the cups up with the batter, I filled them to the top. So when they came out they looked kind of…. Round? I guess. But anyways, always make sure to LET THE CUPCAKES COOL after you bake them. Because obviously they will be hot and you don't want to be dumb like me and take one right away and burn the whole right side of your mouth, do you?
The cupcakes were very pretty and I recommend making these. They were kind of hard to make, but overall it was worth it. If you fill them to the top like I did, the whole box of cake mix will only make six cupcakes, so make sure to fill it about 2/3 of the way.
Thank you for reading, Bye!
♥
Subscribe to:
Posts (Atom)