I've never blogged about a restaurant that isn't even OPEN yet, but I have to about this one.
Marrow will be opening on 6th Ave. in Tacoma, WA sometime in July 2011. It is owned by Jason and Jamie Kay Jones. Jason has been one of my brother's best friends for as long as I can remember.
Jason and Jamie Kay started their adventures in retail food and drink by opening their first establishment, Top of Tacoma, nearly four years ago. The success of that location inspired them to give Jamie Kay and her buddy Kyle Wnuk an outlet for their creativity, leading to Marrow.
Since the place isn't even open for me to give a first-hand review of yet, please read the article below-
CLICK HERE
I will be posting a review of this restaurant as soon as I possibly can. Excited can't BEGIN to describe my feelings!
Update 8/6/2011-
Marrow is now officially open!! My brother and his wife went there for their anniversary dinner and said it was phenomenal. I'm hoping Brian and I can stop in for dinner on the way out to our week at the lake place. I can't think of a better way to start our vacation!
READ MORE HERE
UPDATE-
Marrow is permanently closed as of 8/24/16
Saturday, June 25, 2011
Wednesday, June 15, 2011
Bigger Better Salads With My New Best Friend... Candied Nuts!
In the ongoing effort to eat healthier, I have been making our salads bigger, using less butter, heavy cream, etc., and more whole grains. It's not difficult, but it does take a bit more thought and prep. Even with the variety of homemade salad dressings I have on hand, eating the same thing day after day gets... tedious. Since topping salads with candied nuts seems to be all the rage these days, I gave it a go. It's TOTALLY easy, much tastier (and cheaper, I would imagine) than buying them already candied, and I find it fun to do.
But I'm easily entertained.
A small sprinkling of these nuts on top of your salad makes all the difference, especially when added with other nommy things such as sliced strawberries, red grapes, or fresh pears... a tiny crumble of bleu cheese... some heart-healthy avocado... and a nice homemade balsamic dressing.
I have done both pecans and walnuts, and they work equally well. A lot of sites will say you have to use whole halves, but I don't. Here is what I believe to be my perfected recipe.
Candied Nuts
1/4 C. brown sugar
2 1/2 t. extra virgin olive oil
heaping 1/4 t. cayenne
heaping 1/4 t. cinnamon
pinch kosher salt
1 C. walnut or pecan halves and pieces
In a 10" non-stick pan over medium heat, combine all ingredients except nuts. Using a high-heat resistant silicone spatula, stir constantly until sugar melts, about 2-3 minutes. Add nuts and stir until sugar mixture coats and sticks to nuts and they are toasted, about another 3-4 minutes. IMMEDIATELY dump out onto Silpat or parchment paper (do NOT use waxed paper, foil, etc.) and use two forks to quickly separate nut pieces. Also, clean your pan and utensils in HOT water ASAP... the caramelized sugar sets up fast and can be hard to get off. When cool, store in an airtight container for up to a month. Yeah right. These will last about 5 minutes, especially if you allow yourself to snack on them instead of just using them for salads.
This is my favorite salad ever...

Mixed spring greens (big container from Costco for $3.99... can't beat it), little bit of bleu cheese (cheap stuff from WalMart... it's way better than you would think. I was pleasantly surprised!), sliced strawberries, diced avocado, and homemade balsamic dressing... oh, and the candied nuts, of course (pecans here).
Balsamic Vinaigrette
1/4 C. good balsamic
2 T. fresh lemon juice
1/2 C. extra virgin olive oil
1 T. dijon mustard
pinch of kosher salt and freshly ground black pepper
Combine all ingredients in mini-chopper or blender, blend until emulsified.
But I'm easily entertained.
A small sprinkling of these nuts on top of your salad makes all the difference, especially when added with other nommy things such as sliced strawberries, red grapes, or fresh pears... a tiny crumble of bleu cheese... some heart-healthy avocado... and a nice homemade balsamic dressing.
I have done both pecans and walnuts, and they work equally well. A lot of sites will say you have to use whole halves, but I don't. Here is what I believe to be my perfected recipe.
Candied Nuts
1/4 C. brown sugar
2 1/2 t. extra virgin olive oil
heaping 1/4 t. cayenne
heaping 1/4 t. cinnamon
pinch kosher salt
1 C. walnut or pecan halves and pieces
In a 10" non-stick pan over medium heat, combine all ingredients except nuts. Using a high-heat resistant silicone spatula, stir constantly until sugar melts, about 2-3 minutes. Add nuts and stir until sugar mixture coats and sticks to nuts and they are toasted, about another 3-4 minutes. IMMEDIATELY dump out onto Silpat or parchment paper (do NOT use waxed paper, foil, etc.) and use two forks to quickly separate nut pieces. Also, clean your pan and utensils in HOT water ASAP... the caramelized sugar sets up fast and can be hard to get off. When cool, store in an airtight container for up to a month. Yeah right. These will last about 5 minutes, especially if you allow yourself to snack on them instead of just using them for salads.
This is my favorite salad ever...
Mixed spring greens (big container from Costco for $3.99... can't beat it), little bit of bleu cheese (cheap stuff from WalMart... it's way better than you would think. I was pleasantly surprised!), sliced strawberries, diced avocado, and homemade balsamic dressing... oh, and the candied nuts, of course (pecans here).
Balsamic Vinaigrette
1/4 C. good balsamic
2 T. fresh lemon juice
1/2 C. extra virgin olive oil
1 T. dijon mustard
pinch of kosher salt and freshly ground black pepper
Combine all ingredients in mini-chopper or blender, blend until emulsified.
Wednesday, June 1, 2011
Homemade Pita Chips
Once you discover how quick, easy, inexpensive and tasty these are, you'll never buy bags of pita chips again! They're also much better for you than potato chips!
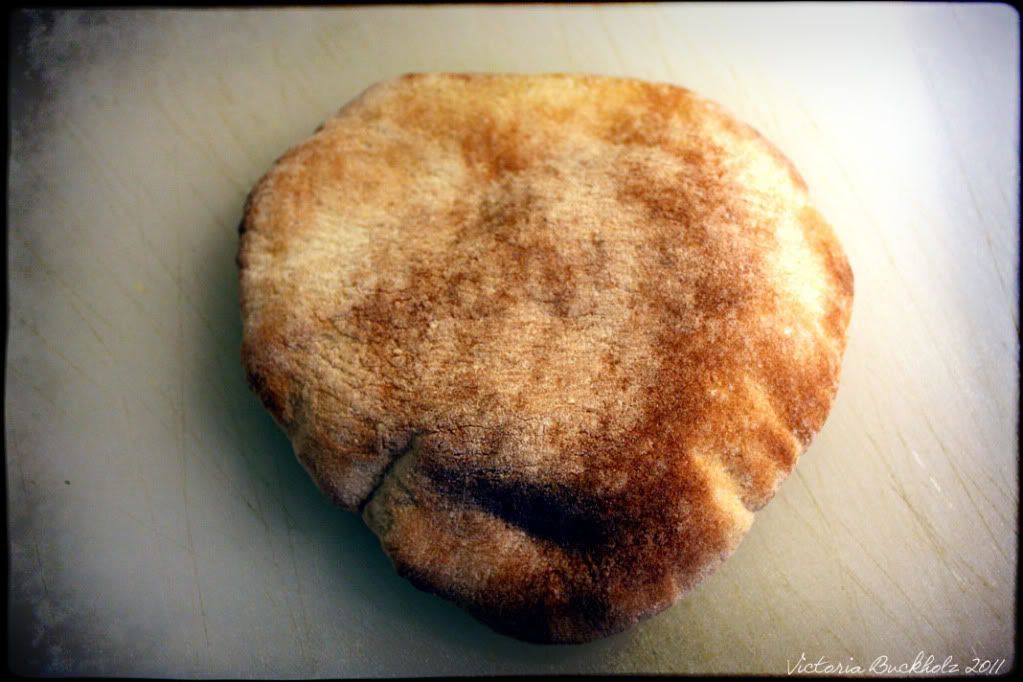
Take a package of your standard pita bread...
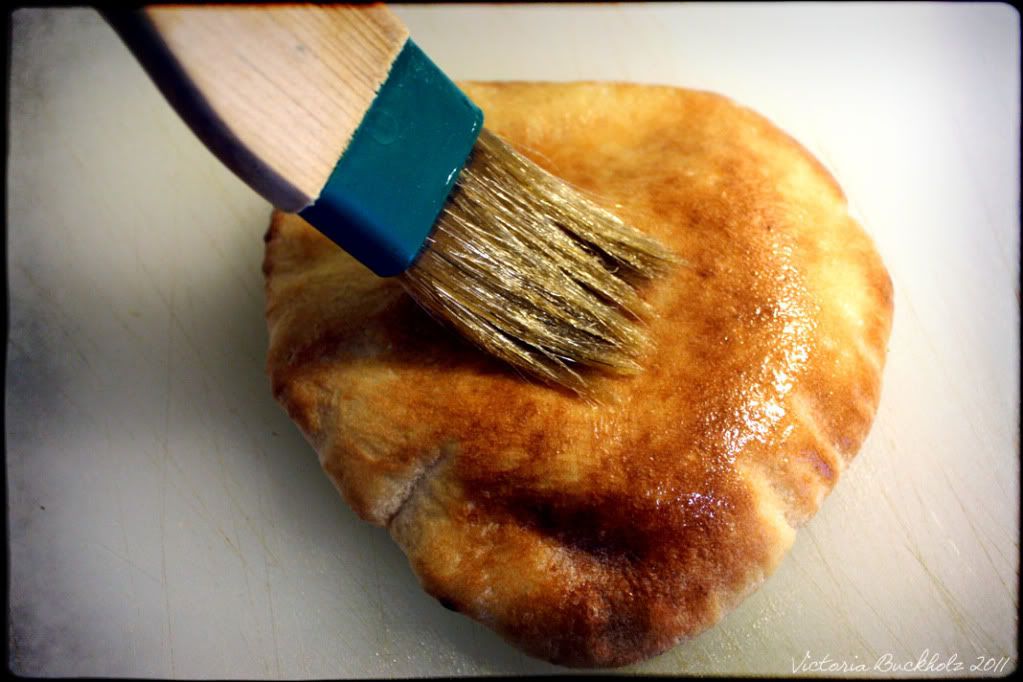
Brush both sides lightly with extra virgin olive oil...
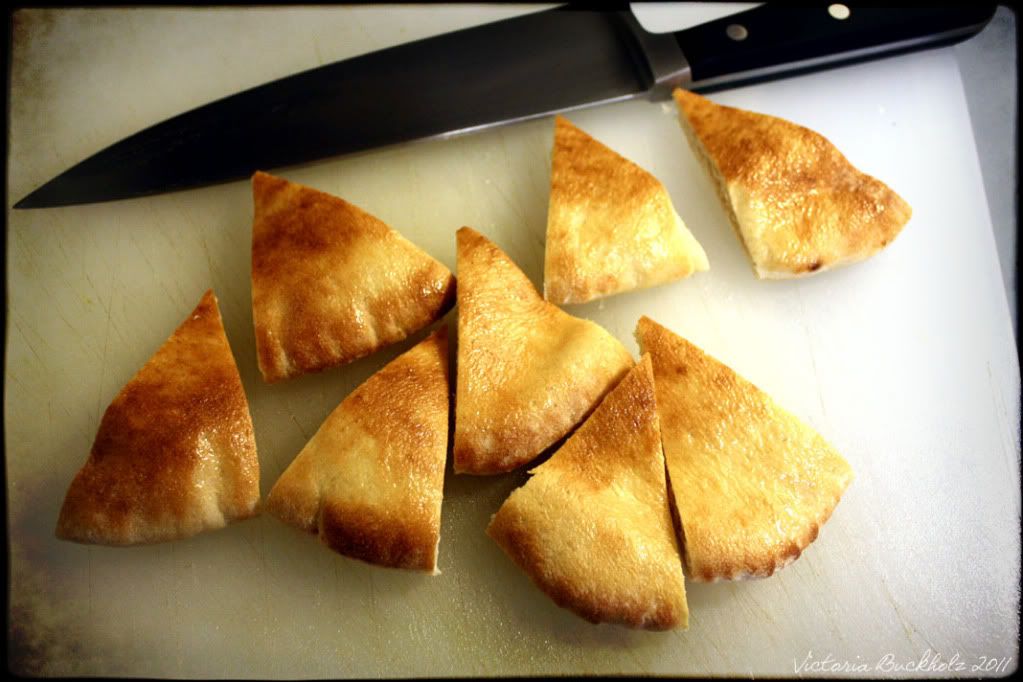
Cut each pita into eight wedges...
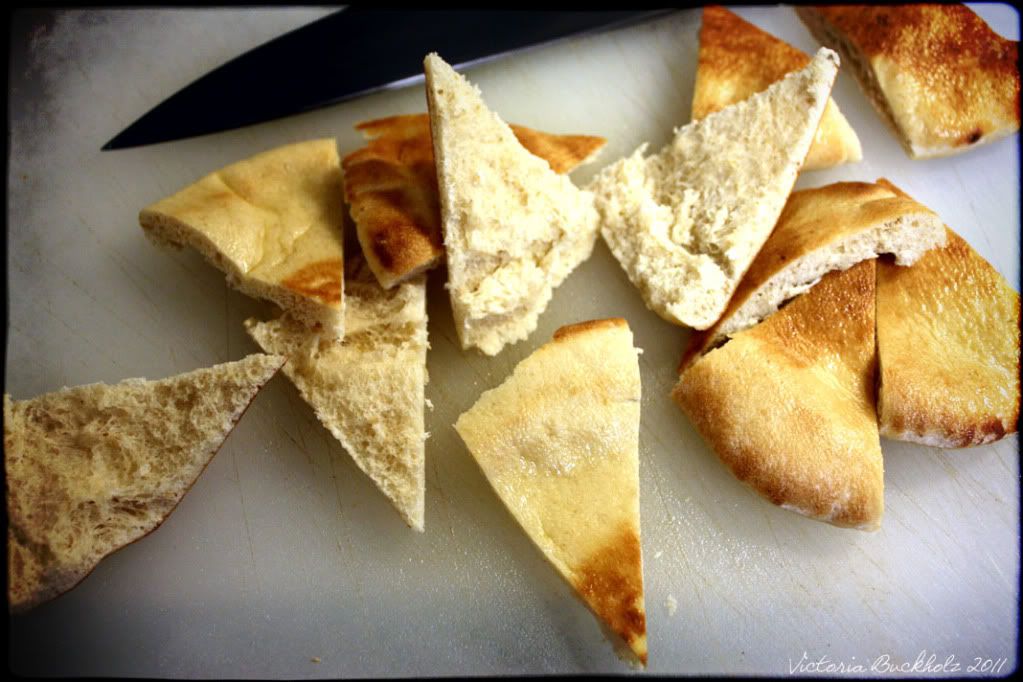
Carefully tear apart each wedge to make two chips...
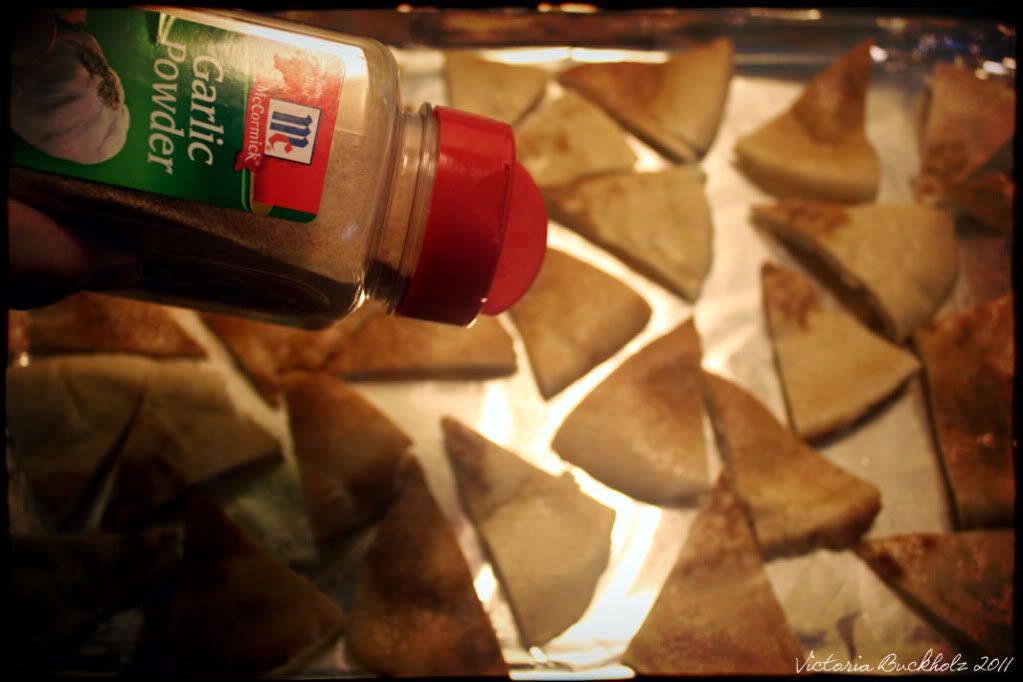
Place in a single layer, oiled side up, on a baking sheet lined with foil or parchment paper. Sprinkle with garlic powder and kosher salt. You could use any herbs or spices that sound good to you (cumin, rosemary, paprika... you get the idea)...
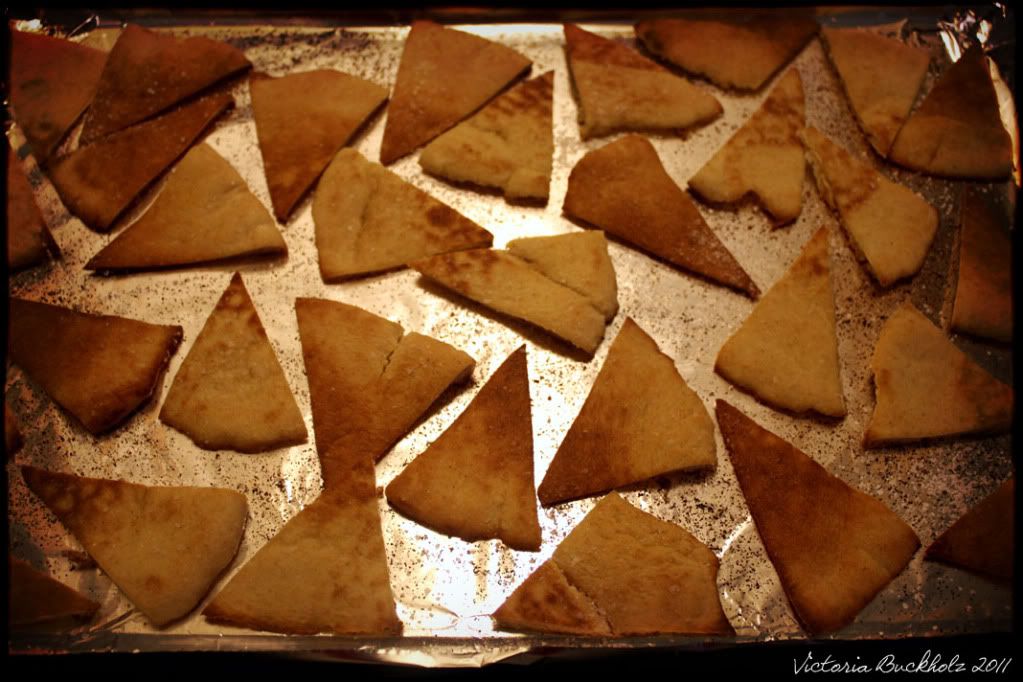
Bake at 375 degrees for 7 minutes. DO NOT WALK AWAY! They burn very quickly, so keep an eye on them. Since all ovens are different, start checking at about 6 minutes. Bake until they're lightly browned around the edges and starting to get crisp.
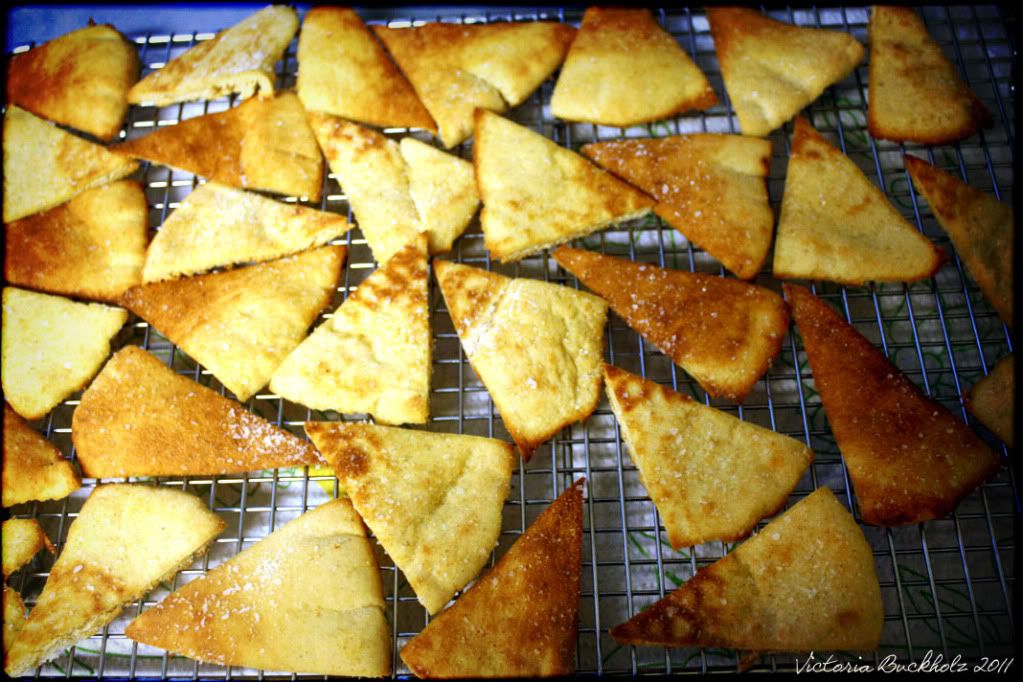
Immediately remove to a wire rack. They will continue to crisp up as they cool...
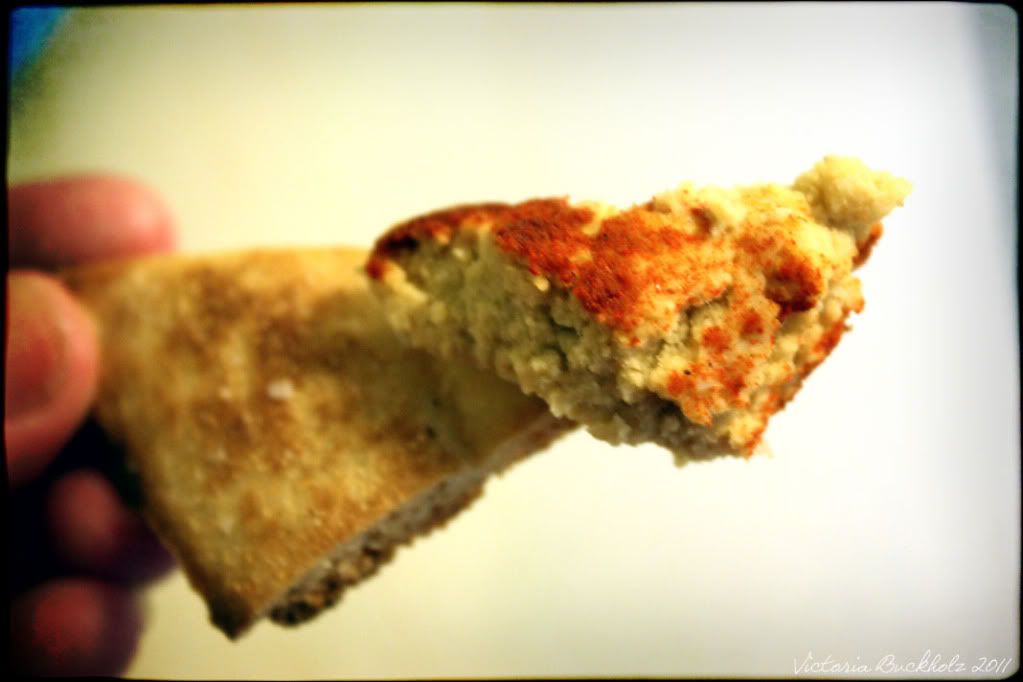
When cool (after about 5 minutes) serve with your favorite dip... like homemade hummus...
Store any leftovers in an airtight container or ziplock bag.
See?? Easy peasy!!
Take a package of your standard pita bread...
Brush both sides lightly with extra virgin olive oil...
Cut each pita into eight wedges...
Carefully tear apart each wedge to make two chips...
Place in a single layer, oiled side up, on a baking sheet lined with foil or parchment paper. Sprinkle with garlic powder and kosher salt. You could use any herbs or spices that sound good to you (cumin, rosemary, paprika... you get the idea)...
Bake at 375 degrees for 7 minutes. DO NOT WALK AWAY! They burn very quickly, so keep an eye on them. Since all ovens are different, start checking at about 6 minutes. Bake until they're lightly browned around the edges and starting to get crisp.
Immediately remove to a wire rack. They will continue to crisp up as they cool...
When cool (after about 5 minutes) serve with your favorite dip... like homemade hummus...
Store any leftovers in an airtight container or ziplock bag.
See?? Easy peasy!!
Subscribe to:
Posts (Atom)